How a Candleholder Comes to Life
How a Candleholder Comes to Life
Whether it’s a customer order or I just feel like making something new, my candleholder process is pretty much the same. It’s taken years to refine, but now it feels second nature.
It all starts in my garage — part workshop, part storage, part home gym (though these days the “gym” part is mostly a coat rack).

I’ve set up little zones for each step:
-
Glass storage & cutting station
-
Gluing station for attaching glass to the vase
-
Grouting area for the messy part
-
Finishing station for sealing and labeling
-
Photography station for consistent product shots
-
Wrapping & shipping corner
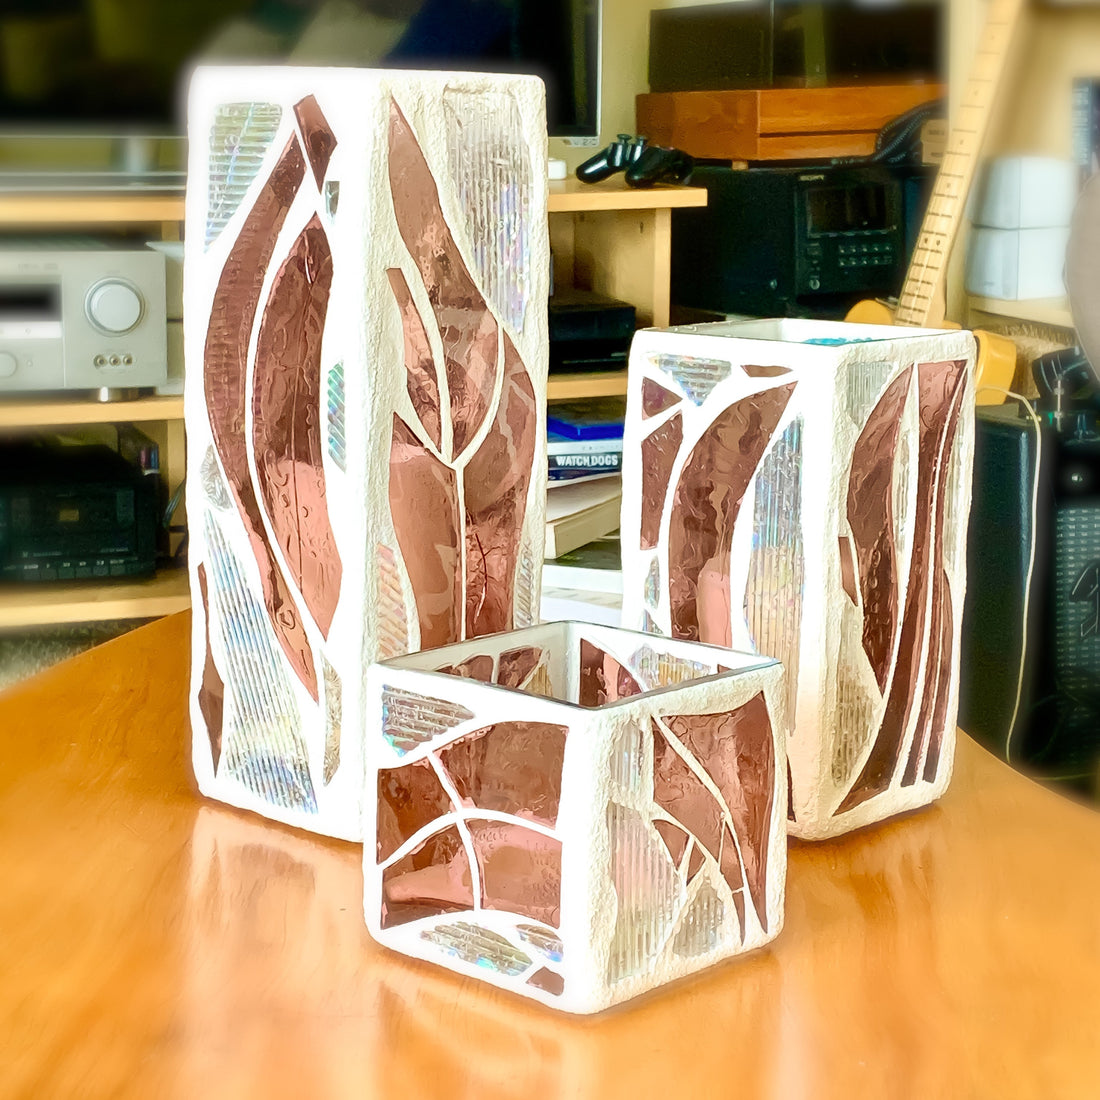
The base is usually a vase from my go-to supplier, available in all shapes and sizes. Once I pick the shape, I choose the glass colors — sometimes inspired by a past design, sometimes completely new. If I don’t have the right color on hand, I head to my version of a candy store: Pacific Art Glass in Gardena, California.
 )
)
I cut the glass to size — sometimes in strips, sometimes shaped for detail — and glue it to the vase. For my “Evergreen” candleholder, for example, I sort different shades of green onto card stock so I can mix them just right, then add violet or brown for the trunk and a background that might be daytime, nighttime, rain, or snow.


After the glue cures for 24 hours, I move to the grout station. I’ve got a range of grout colors, but I often use bright white for contrast (it looks darker at night by candlelight). I mix the grout with a special additive that helps it bond to smooth glass and work it into every nook and cranny.


When the grout’s dry, I polish the piece, seal the grout to help prevent staining, and attach rubber feet. I label the bottom with the candleholder’s name and my website, then cover the label with a durable epoxy so it stays there forever.

Photography: consistent turntable + three-light setup
Before packaging, I photograph every candleholder the same way so the results are consistent:
-
Setup: a turntable and a three-light technique — two lights from the sides and one from above.
-
Angles: I shoot each side and two-side angles. If the piece is rectangular, I repeat the same set with a candle inside the holder.
-
Lighting sets: I capture both a daylight set (for accurate color) and a candlelight set (to show nighttime glow). In both sets, I also record a slow rotation on the turntable so you can see how the glass plays with the light as it turns.
-
Occasional lifestyle: Sometimes I’ll add a few “at home” shots in my living room for context.
I use these images for my own records and process notes, and I’ll pull from them for ads and listings when needed. If the buyer wants copies of the photos of their piece, I’m happy to share them.


Shipping it safely
Once the photos are done, it’s time for packaging. I use expanding foam packs that mold perfectly to the candleholder. They’re not cheap, but I haven’t had a single break since switching to them.


And that’s it — from a blank vase to a finished candleholder, photographed and ready for its new home. Next time, I’ll talk about the adhesive I use and why it makes all the difference.